Google Cloud Platform
This guide describes how to run QuestDB on a new Google Cloud Platform (GCP) Compute Engine instance. After completing this guide, you will have an instance with QuestDB running in a container using the official QuestDB Docker image, as well as a network rule that enables communication over HTTP and PostgreSQL wire protocol.
Prerequisites
- A Google Cloud Platform (GCP) account and a GCP Project
- The Compute Engine API must be enabled for the corresponding Google Cloud Platform project
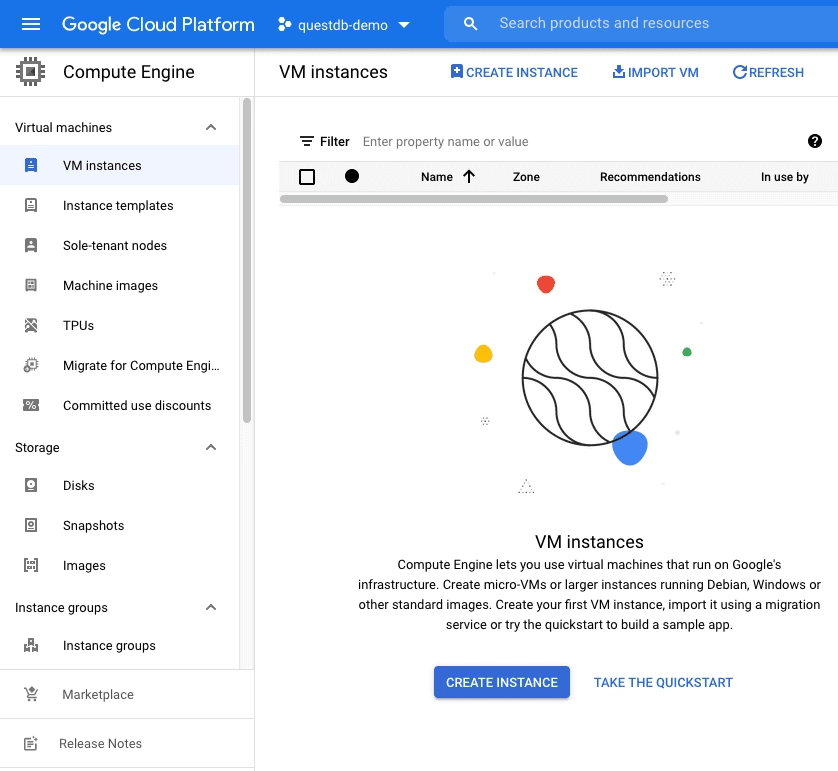
Create a Compute Engine VM
- In the Google Cloud Console, navigate to Compute Engine and click Create Instance
-
Give the instance a name - this example uses
questdb-europe-west3 -
Choose a Region and Zone where you want to deploy the instance - this example uses
europe-west3 (Frankfurt)and the default zone -
Choose a machine configuration. The default choice,
ec2-medium, is a general-purpose instance with 4GB memory and should be enough to run this example.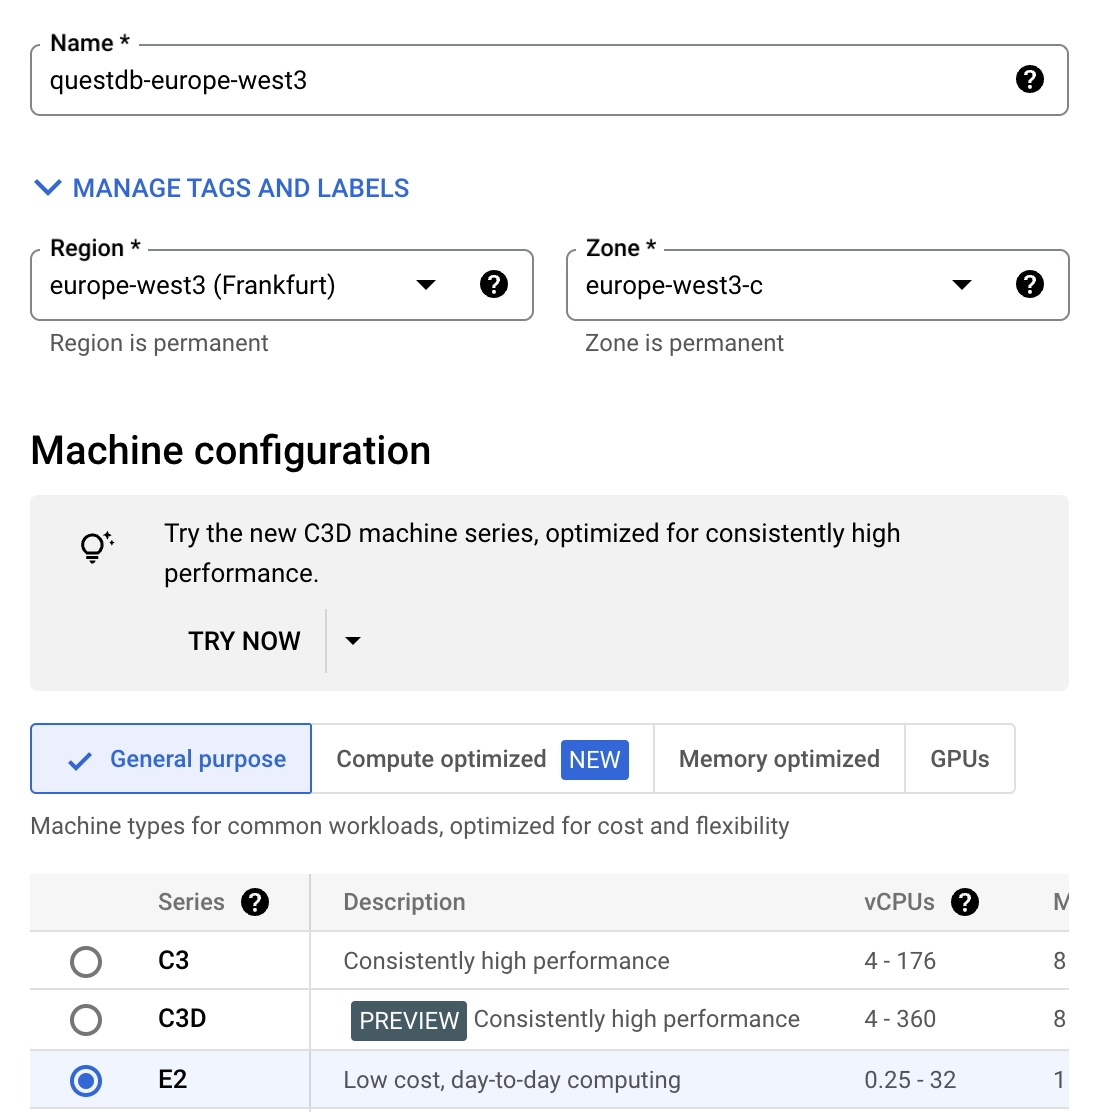
-
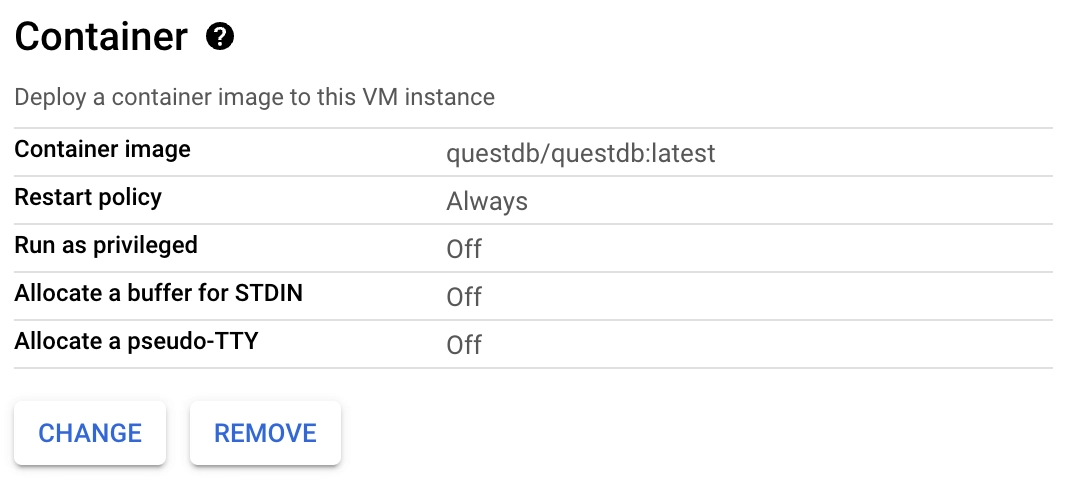
To add a running QuestDB container on instance startup, scroll down and click the Deploy Container button. Then, provide the
latestQuestDB Docker image in the Container image textbox.questdb/questdb:latestClick the Select button at the bottom of the dropdown to complete the container configuration.
Your docker configuration should look like this:
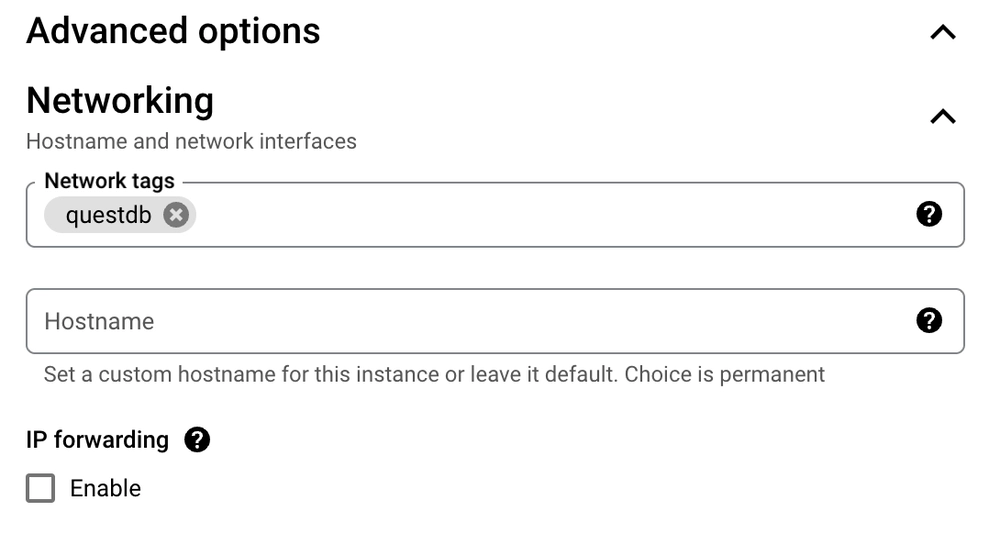
Before creating the instance, we need to assign it a Network tag so that we can add a firewall rule that exposes QuestDB-related ports to the internet. This is required for you to access the database from outside your VPC. To create a Network tag:
- Expand the Advanced options menu below the firewall section, and then expand the Networking panel
- In the Networking panel add a Network tag to identify the instance.
This example uses
questdb
You can now launch the instance by clicking Create at the bottom of the dialog.
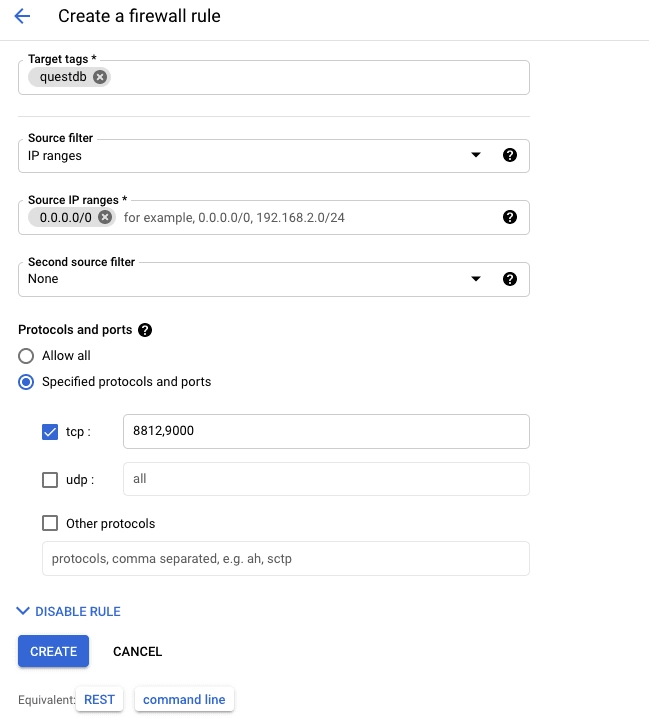
Create a firewall rule
Now that we've created our instance with a questdb network tag, we need to
create a corresponding firewall rule to associate with that tag. This rule will
expose the required ports for accessing QuestDB. With a network tag, we can
easily apply the new firewall rule to our newly created instance as well as any
other QuestDB instances that we create in the future.
- Navigate to the Firewall configuration page under Network Security -> Firewall policies
- Click the Create firewall rule button at the top of the page
- Enter
questdbin the Name field - Scroll down to the Targets dropdown and select "Specified target tags"
- Enter
questdbin the Target tags textbox. This will apply the firewall rule to the new instance that was created above - Under Source filter, enter an IP range that this rule applies to. This
example uses
0.0.0.0/0, which allows ingress from any IP address. We recommend that you make this rule more restrictive, and naturally that you include your current IP address within the chosen range. - In the Protocols and ports section, select Specified protocols and
ports, check the TCP option, and type
8812,9000in the textbox. - Scroll down and click the Create button
All VM instances on Compute Engine in this account which have the Network
tag questdb will now have this firewall rule applied.
The ports we have opened are:
9000for the REST API and Web Console8812for the PostgreSQL wire protocol
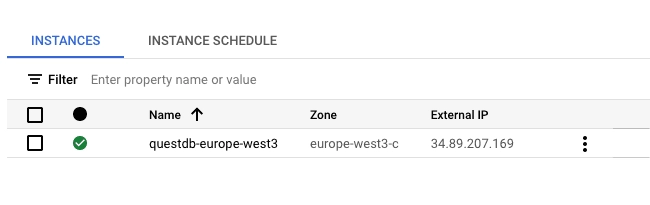
Verify the deployment
To verify that the instance is running, navigate to Compute Engine -> VM Instances. A status indicator should show the instance as running:
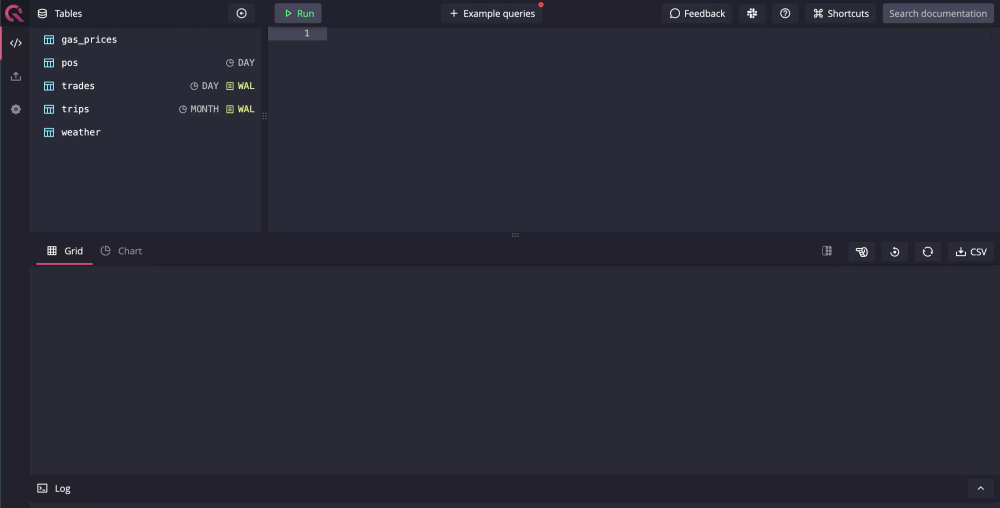
To verify that the QuestDB deployment is operating as expected:
- Copy the External IP of the instance
- Navigate to
http://<external_ip>:9000in a browser
The Web Console should now be visible:
Alternatively, a request may be sent to the REST API exposed on port 9000:
curl -G \
  --data-urlencode "query=SELECT * FROM telemetry_config" \
  <external_ip>:9000/exec