Time Series Data Analytics with QuestDB and Cube.js
This blog post is the outcome of collaboration between Isha Terdal from Cube, Andrey Pechkurov from QuestDB and Yitaek Hwang, a QuestDB contributor.
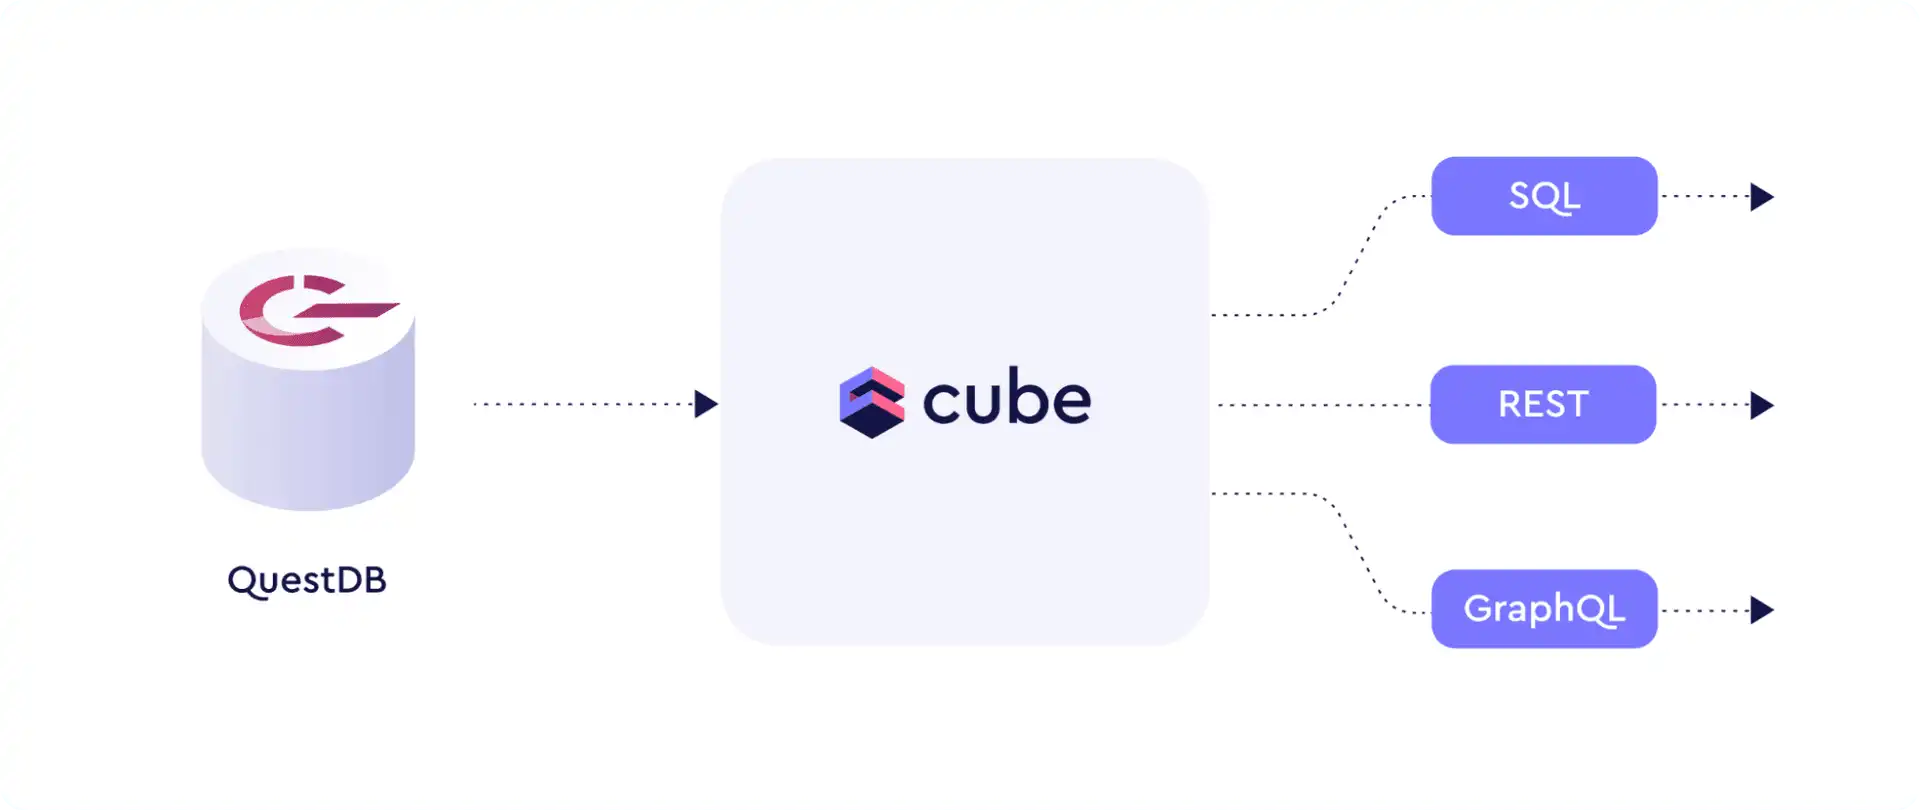
Time series data has now become a critical part of the data applications landscape. In this blog, we'll take a look at how QuestDB and Cube work together to provide a time series data pipeline that is fast, consistent, and reliable.
What is QuestDB?
QuestDB is a performant open-source database for time series data. Its codebase is optimized for storing and processing large amounts of time-stamped data efficiently through lightning-fast SQL queries.
QuestDB also allows for integration with a variety of popular open source tools through the PostgreSQL wire protocol, and its use cases range from real-time analytics and monitoring to market/tick data and industrial telemetry.
What is Cube?
Cube is a headless business intelligence platform that can organize all your data into a structured data model. Defining metrics upstream of your applications—so, for instance, defining the granularity of data observed—enables you to access the same data metrics across various applications, use cases, and teams.
With Cube's data modeling capabilities, you can shorten your project timeline from weeks to hours. And, with its API-first approach, you can connect to your streamlined data via an API that best suits your application and infrastructure (whether it be a REST, GraphQL, or SQL API).
How QuestDB and Cube Work Together
So there you have it—a structured data model built on top of a fast repository of time series data. QuestDB is optimized for slicing and dicing time-stamped data through its SQL extensions. Cube also offers multiple ways of pre-aggregating data effectively by building a caching layer on top of your data to speed up performance of slow queries. Together, QuestDB and Cube have your time series data all set up for use downstream.
Exploring Crypto Prices with QuestDB and Cube
Let's illustrate how the two app stacks work together. In this example, we'll show how you can efficiently build an end-to-end crypto price analysis platform with QuestDB and Cube. We will use Cube to expose time series data in QuestDB via multiple APIs.
Setting Up QuestDB and Importing Time Series Data
First, you should set up a new project directory in your local system e.g.
questdb_cube.
We'll begin our demo by using the Crypto dataset to show how we can create a time series database in QuestDB, and then organize the data downstream with Cube. Since both applications can be initiated using Docker, let's start up both engines by stringing them together using Docker Compose.
Then, create a docker-compose.yml file in the project directory with the
following contents:
version: "2.2"services:cube:environment:- CUBEJS_DEV_MODE=trueimage: "cubejs/cube:latest"ports:- "4000:4000"env_file: "cube.env"volumes:- ".:/cube/conf"questdb:container_name: questdbhostname: questdbimage: "questdb/questdb:latest"ports:- "9000:9000"- "8812:8812"
Add an cube.env file that gives Cube the details for connecting to QuestDB:
CUBEJS_DB_HOST=questdbCUBEJS_DB_PORT=8812CUBEJS_DB_NAME=qdbCUBEJS_DB_USER=adminCUBEJS_DB_PASS=questCUBEJS_DB_TYPE=questdb
Create model directory to be used by Cube:
mkdir model
Run the containers using the following command:
docker-compose up -d

“Upload” icon on the left-hand panel, and import the Navigate to http://localhost:9000 to open QuestDB's Web Console, click on the csv files of interest. While this example uses the Ethereum dataset, any of the coin datasets will work perfectly.

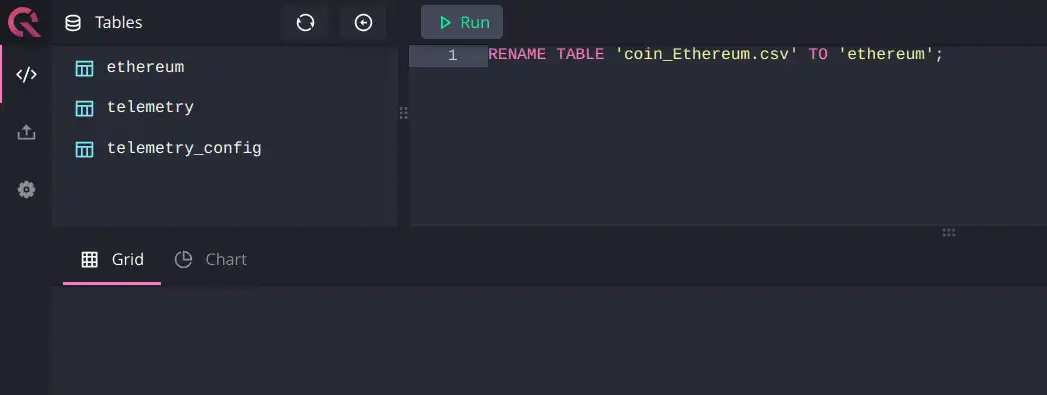
Note: Cube works best with table names that do not contain any special characters. So, we're going to rename our table using the following command:
RENAME TABLE 'coin_Ethereum.csv' TO 'ethereum';
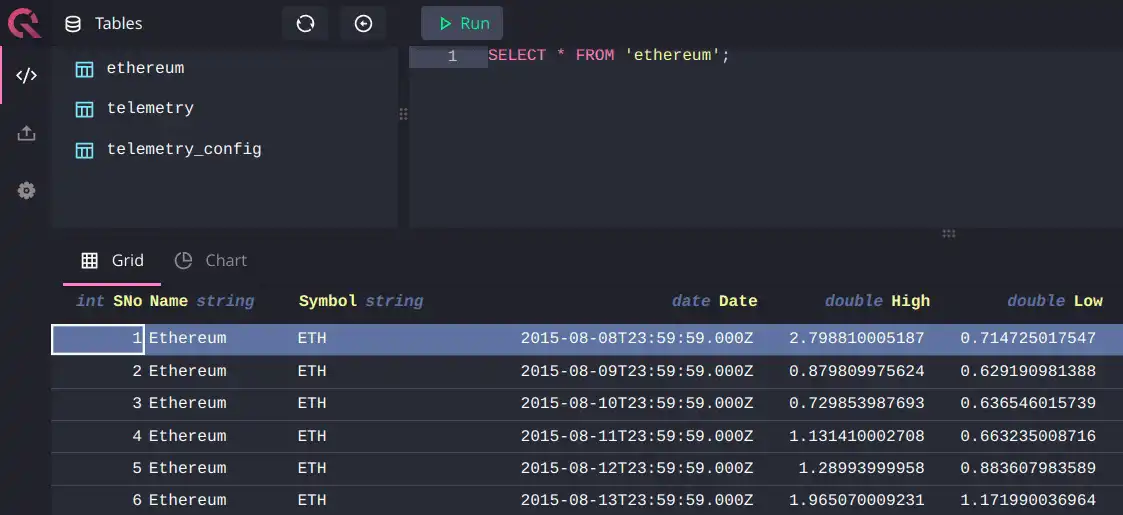
Now, we're able to query the data:
Building a Cube Data Model
The next step is to organize the time series data from QuestDB in a uniform and accessible manner; we do this by defining a data model.
The Cube data model consists of entities we call 'cubes' that define metrics by dimensions (qualitative categories) and measures (numerical values). So, with that in mind, let's continue by creating a cube for our Ethereum data.
Navigate to localhost:4000/#/schema and click on the Ethereum table we imported into QuestDB:
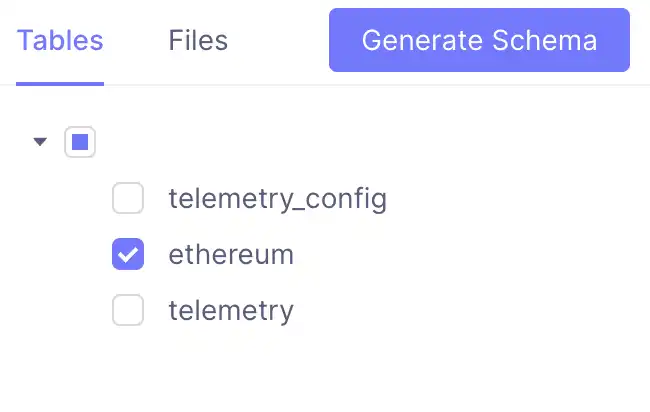
Clicking on the 'Generate Schema' button automatically bootstraps a cube for the data in our local project directory—a folder named 'schema'. This folder contains a file called 'Ethereum.js' that you can open with any text editor.
By default, the count field falls under measures; name, symbol, and date
fields are auto-populated as dimensions. Since we're interested in price
columns, let's add them in (defined as 'high' and 'low' in the data model as
shown below):
cube(`Ethereum`, {sql: `SELECT * FROM ethereum`,measures: {count: {type: `count`,drillMembers: [name, date],},},dimensions: {name: {sql: `${CUBE}."Name"`,type: `string`,},symbol: {sql: `${CUBE}."Symbol"`,type: `string`,},date: {sql: `${CUBE}."Date"`,type: `time`,},high: {type: "number",sql: `${CUBE}."High"`,},low: {type: "number",sql: `${CUBE}."Low"`,},},})
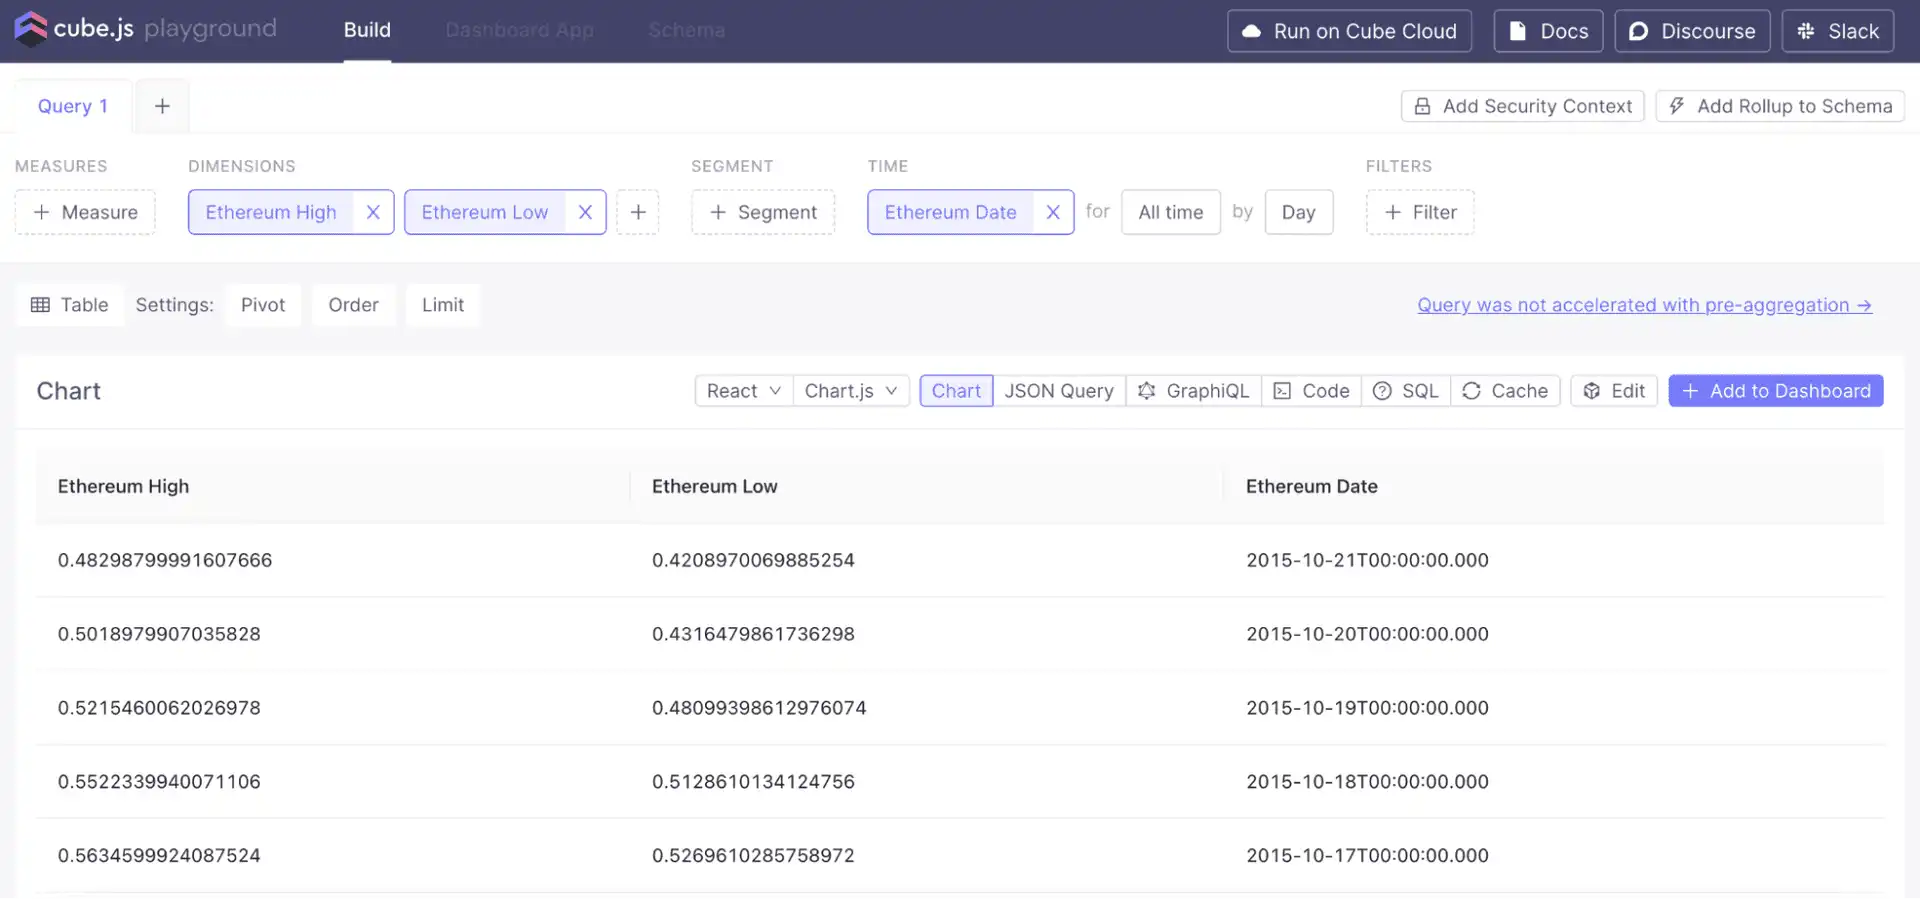
Then, by clicking on the 'Build' tab in Cube, we can see the data:
We can also use Cube's built-in measure type, avg, to create measures to
calculate average high or low prices:
measures: {avgHigh: {type: "avg",sql: `${CUBE}."High"`,},avgLow: {type: "avg",sql: `${CUBE}."Low"`,},},
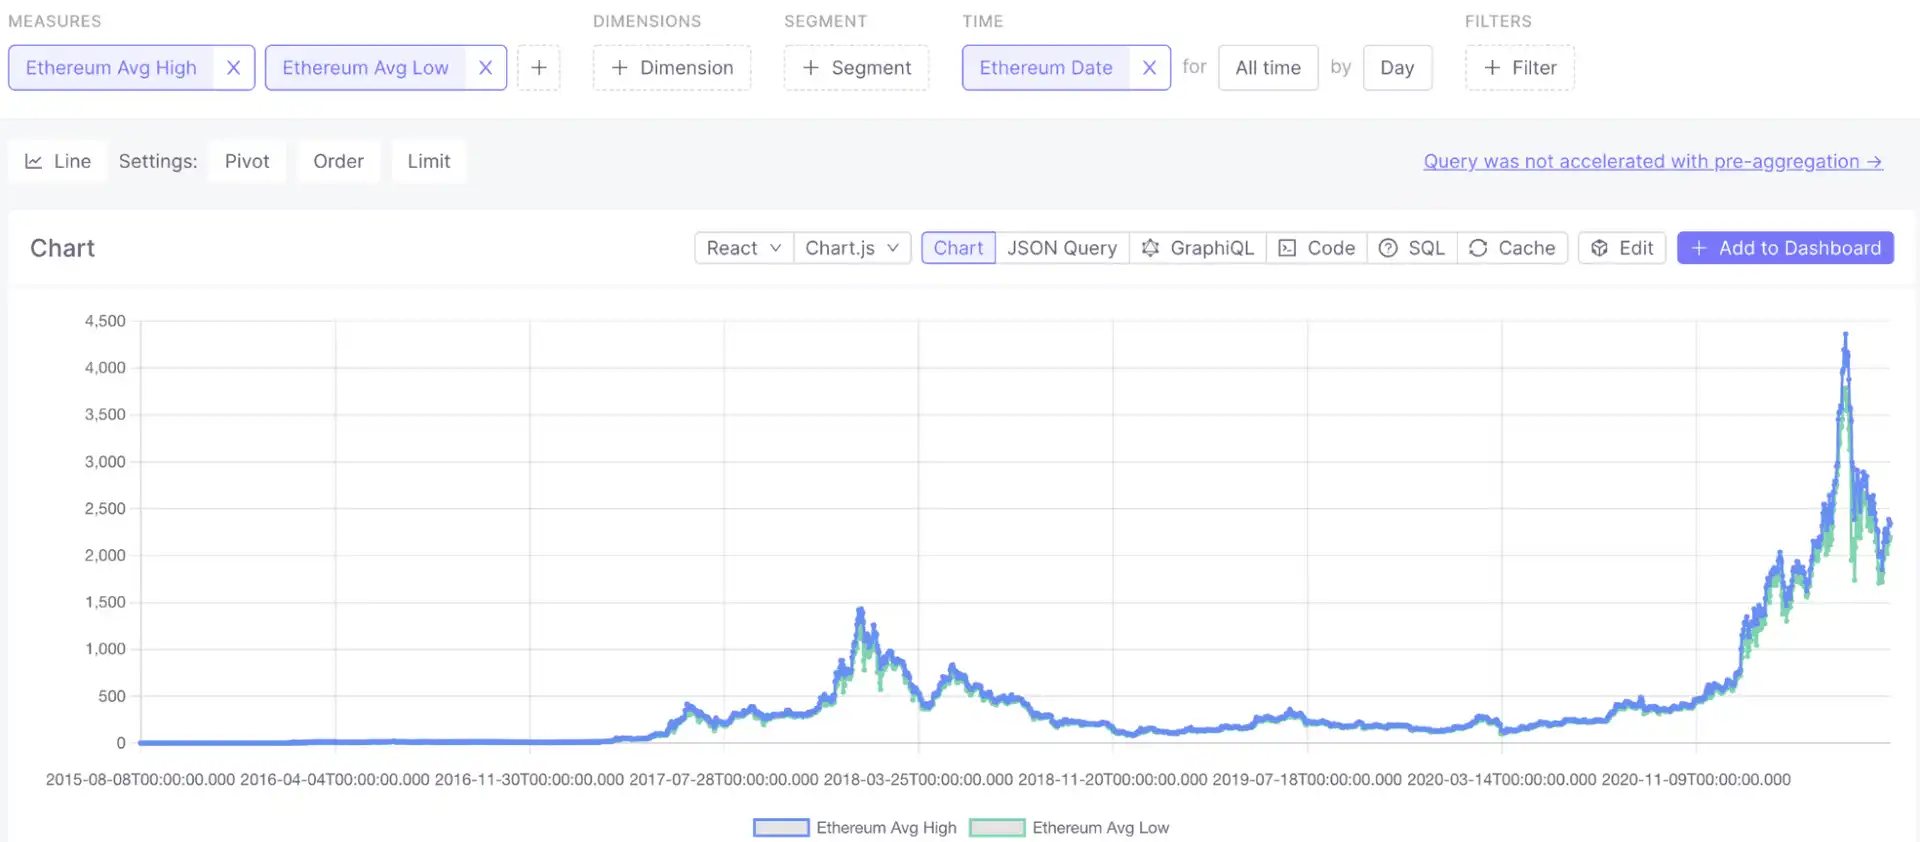
Next, we can recreate the classic price-over-time graph:
Additionally with Cube, you can pre-aggregate data to speed up the queries. Cube will create materialized rollups of specified dimensions and measures internally, and use aggregate awareness logic to route the queries. This logic will use the most optimal pre-aggregation available to serve the query instead of processing the raw dataset. You can define pre-aggregations within your data model as shown below.
preAggregations: {main: {measures: [avgHigh, avgLow],timeDimemsion: date,granularity: "day"}}
You can learn more about Cube pre-aggregations in the documentation.
Consuming Time Series Data via APIs
If you've followed along so far, your data is now processed and organized neatly into a data model, aka a cube. So, what's next? Good question. The answer is simply to connect the data to your application.
The versatility of Cube—given its 'headlessness'—enables you to seamlessly connect to any data application you need, whether it's a dashboard, notebook, or the backend of your application.
By taking an API-first approach, Cube as a headless BI tool brings about endless ways of using your data downstream of your time series data sources. And, API endpoints ensure that the metrics are available and consistent across different applications, tools, and teams.
Let's take a look at the various ways you can connect to the data model you built via its APIs.
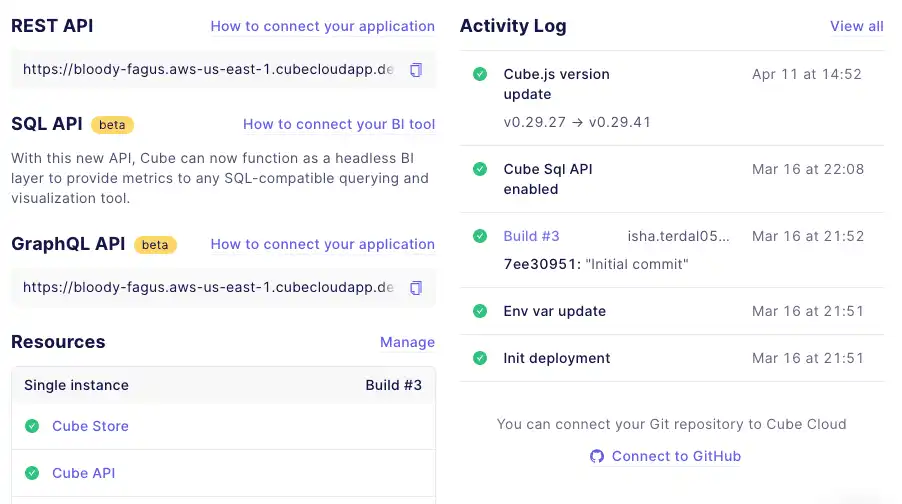
There are three API endpoints that you can use to access your data model:
-
REST API: If you're using Cube as the backend for your application, you can connect to it with the REST API.
-
GraphQL API: If you're looking to use standard GraphQL queries for embedded analytics or other data apps, you can connect to Cube with the GraphQL API.
-
SQL API: If you're querying data using standard ANSI SQL format, you can connect to Cube with the SQL API. No need to learn additional syntax—just use SQL to interact with your data. This is especially useful if you are working with BI tools, dashboards, or data science models.

Conclusion
With QuestDB's speedy processing of time series data, and Cube's data modeling capabilities for consistent definitions, we can now efficiently power many use cases with real-time, reliable data. So, think embedded analytics, business intelligence, machine learning—you name it.
Curious to see QuestDB's incredibly performant time series database in action? Check out the QuestDB demo. Eager to join the QuestDB discussion? Join the QuestDB community on GitHub and Community Forum.
Want to see how QuestDB and Cube can power your project together? See the docs and create a free Cube Cloud account today. Have questions or feedback? Drop us a line, join our Slack, or check us out on GitHub.