This post comes from Kovid Rathee, who has put together a tutorial to show how to add extra security by implementing Nginx Basic Authentication for QuestDB open source.
Introduction
Data privacy and security is one of the most critical areas of concern when working with any data. This is even more true for time-series database because a lot of time-series data deals with highly essential financial, geospatial, and medical data, among many others.
While QuestDB open source has already added authentication on top of the InfluxDB line protocol to secure your time-series data ingestion workloads into QuestDB, you might need more layers of security, mainly to prevent unauthorized access to your critical data from your QuestDB web console.
There are several ways to achieve this, such as SSH tunneling, OAuth, token-based auth, etc. However, this article will take you through the most straightforward authentication setup of them so that you can get started with basic authentication with minimal effort using Nginx.
While you can set up authentication for QuestDB open source, QuestDB Cloud offers built-in authentication that offers a hassle-free, Out-of-the-Box solution.
How Basic Authentication Works in Nginx
Nginx is a multi-purpose application that can be used as a reverse proxy, a load balancer, or an HTTP cache. This means if you direct all your incoming traffic for QuestDB to Nginx, it can decide what action to take on that request.
Nginx Basic Authentication is a way to implement a fundamental authentication mechanism. In case of a successful login request, you’ll be redirected from the default HTTP port to the port on which your QuestDB server is running.
Note: On top of the Basic Authentication, you should also configure SSL/HTTPS on top for additional security. You can download free SSL/TLS certificates from LetsEncrypt.
Steps for Setting up Basic Authentication for QuestDB open source using Nginx
Step 1. Install QuestDB open source
You can install QuestDB open source on your local instance or a production system in several ways. Your installation method doesn’t impact your basic authentication setup using Nginx. You'll be good to go if you have QuestDB up and running. In this tutorial, we’ll install QuestDB using Homebrew, using the following command:
brew install questdb
Once the installation is complete, QuestDB automatically starts and is available on http://localhost:9000. To ensure that the installation has gone right, please visit this address and see if you can access the QuestDB console.
Step 2. Install Nginx
To set up Basic Authentication using Nginx, you need to install Nginx on your system. Using Homebrew, you can do that by simply running the following command:
brew install nginx
After the installation, please ensure that Nginx is up and running by visiting http://localhost:8080.
Step 3. Configure Nginx to require Basic Authentication for QuestDB open source
Step 3a. Create a Username and Password
When you configure Nginx to force authentication, you’ll need a username and
password combination to log into QuestDB. The first step is to create that
username and password combination using the following htpasswd command.
sudo htpasswd -c /usr/local/etc/nginx.htpasswd questdb
The home directory, i.e., in this case, /usr/local/etc/, might be something
else for another platform like CentOS, Ubuntu, etc. It’s best just to run the
following command to test your configuration file and find out what the
installation path is:
nginx -t
This command will give you an output will all the different paths that Nginx is using:
nginx: the configuration file /usr/local/etc/nginx/nginx.conf syntax is ok
nginx: configuration file /usr/local/etc/nginx/nginx.conf test is successful
Once you're done with this basic check, you can start with the configuration.
Step 3b. Modify nginx.conf to Require Basic Authentication & Redirect
To implement Basic Authentication properly, you must understand what Nginx does. To add a layer of security, all your requests on a certain port (in this case, port 80) will go to Nginx first. They will then be redirected to port 9000, where you have a QuestDB instance running.
The redirection will be contingent upon whether you can provide Nginx with the correct username and password combination you had created earlier.
Take the default nginx.conf file and remove all the comments. Firstly, in the
server section, change the value of listen from 8080 to 80 if you want to
redirect to QuestDB whenever someone types localhost (as 80 is the default
HTTP port). Secondly, replace the location section with the following:
location / {
            proxy_pass  http://localhost:9000;
            index  index.html index.htm;
            auth_basic "Restricted Content";
            auth_basic_user_file /usr/local/etc/nginx/.htpasswd;
        }
You'll probably be dealing with a lot of data in the web console, and you might
need to download it to your local machine. For such use cases, you can modify
the default value of the
proxy_read_timeout
variable from 60 to 300 (or a value that makes sense for your use case). You
can, similarly, set the
proxy_send_timeout
and
proxy_connect_timeout.
This is where you’re telling Nginx to force authentication based on your
password stored in the .htpasswd file in your Nginx home directory. The full
`nginx.conf` file looks something like the following:
worker_processes  1;
events {
    worker_connections  1024;
}

http {
    include       mime.types;
    default_type  application/octet-stream;

    sendfile        on;
    keepalive_timeout  65;

    server {
        listen       80;
        server_name  localhost;

        location / {
            proxy_pass  http://localhost:9000;
            proxy_read_timeout 300;
            proxy_connect_timeout 120;
            proxy_send_timeout 300;
            index  index.html index.htm;
            auth_basic "Restricted Content";
            auth_basic_user_file /usr/local/etc/nginx/.htpasswd;
        }

        error_page   500 502 503 504  /50x.html;
        location = /50x.html {
            root   html;
        }

    }
    include servers/*;
}
Step 3c. Reload Nginx Configuration
Once you make the necessary changes to your Nginx configuration file mentioned in the previous step, you’ll be ready to reload or restart the Nginx server for the configuration changes to take effect.
Ensure that you've blocked any direct access to your QuestDB web console using a software-based firewall, such as
iptables. If you configure your firewall to deny traffic on a certain port, Nginx will still be able to redirect you to that.
Alternatively, you can set the
http.bind.to variable in
your QuestDB server.conf file to 127.0.0.1 ensuring that QuestDB rejects the
requests coming directly from the internet, and only allows requests that are
proxied via Nginx.
You can find your
server.conffile in your Homebrew QuestDB installation directory --/usr/local/var/questdb/conf. This directory might differ on different OS and Homebrew versions.
You can use one of the following commands for reloading the Nginx configuration:
brew services restart nginx
brew services reload nginx
Here’s what the output of the commands mentioned above will look like:

Step 4. Verify if Basic Authentication is working while accessing QuestDB open source
After reloading the configuration file, open a new tab in your browser to test if the redirection and authentication are working correctly.
localhost points to QuestDB based on the nginx.conf.

If localhost binding is working correctly, you should see the following screen
asking for your username and password to log into QuestDB:

Once you enter your username and password, Nginx will go back to .htpasswd to
verify whether you’ve entered the correct credentials. If the authentication
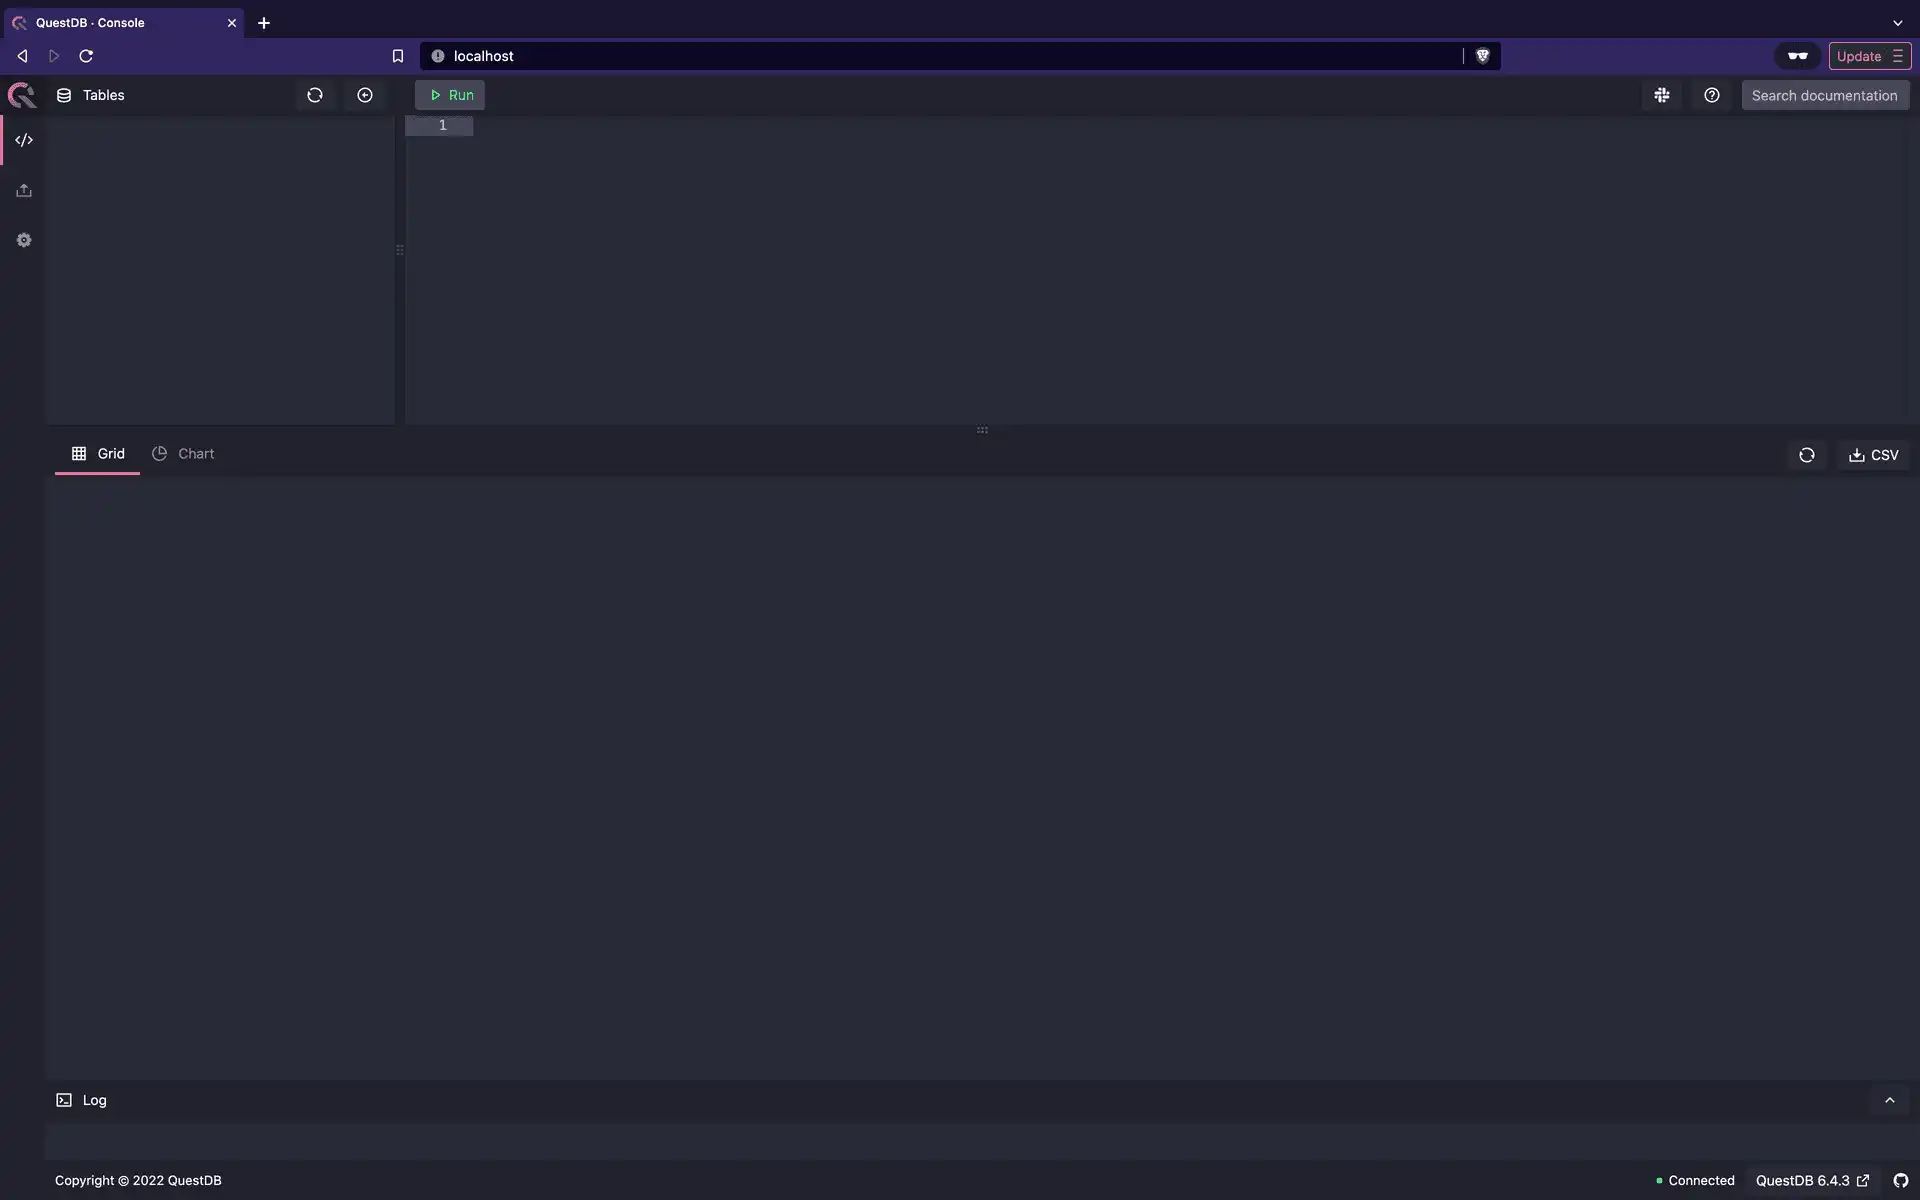
succeeds, you’ll be able to log onto QuestDB and carry on with your work, as
shown below:
However, if the authentication fails, you’ll see the following screen with an
HTTP 401 specifying that you need the authorization to access localhost.

If you end up getting an HTTP 401, recheck your username and password
combination. If it is still not working, try creating another user or resetting
the password for your current user using the
htpasswd command-line tool.
Conclusion
Nginx Basic Authentication is a short-term solution to ensure that your data is safe and protected from unauthorized access. This tutorial took you through the steps required to set up authentication for QuestDB open source by simply installing Nginx and making a few changes in the configuration file.
Although Nginx Basic Authentication is not the recommended method for authentication and authorization, it is the quickest to set up. In the longer term, you might want to use a solution like LDAP-based solution, OAuth/OIDC, and so on.