How to upgrade and benchmark a Raspberry Pi5
This article will demonstrate how to upgrade your Raspberry Pi with an SSD and operating system setup which can take advantage of the new hardware. It'll then show how to setup your OS, the time-series benchmarking suite, and install QuestDB.
With this preparation, you can follow along with our own benchmarking attempt. It's helpful for those who want to install an M.2 NVMe on their Raspberry Pi, or those who want to do that and benchmark QuestDB.
Make a Pi
Step one. Supe up the Pi.
And for that, we'll use a very solid M.2 NVMe SSD.
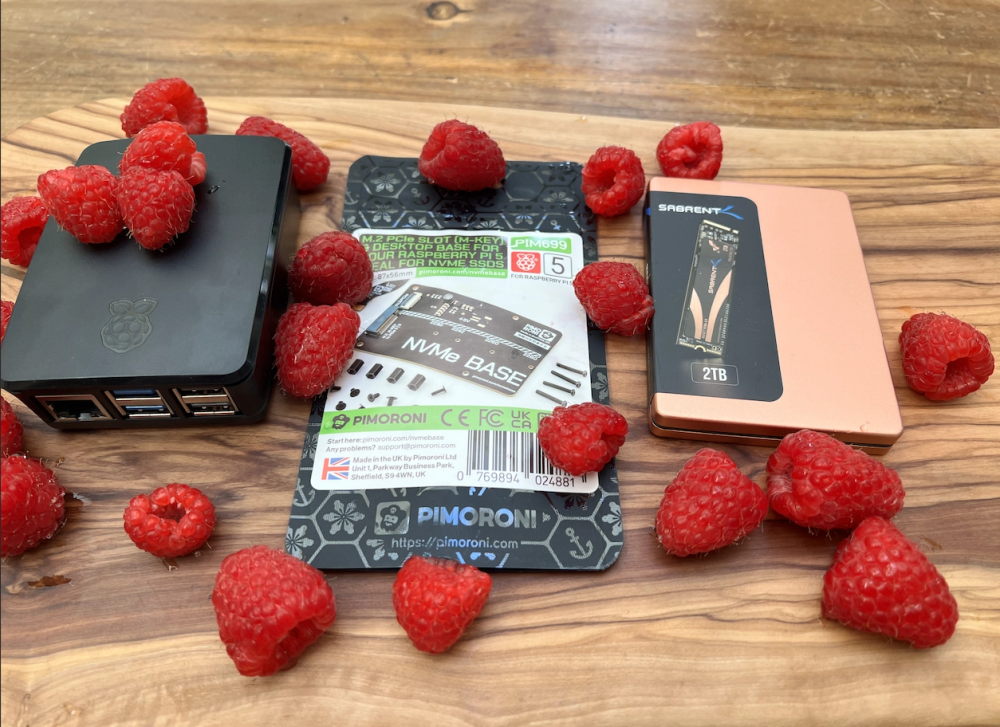
Our chosen NVMe drive will exceed 2000mb/s in both read and write. A top-of-the-line SD card will tickle 300mb/s at best. With a very fast NVMe drive, we'll move data as fast as the CPU can handle. Our bottleneck won't be storage. And an NVMe drive is also much more durable.
To prevent this article from stretching too long, we'll summarize the build steps and link to high quality resources.
Attach the M.2 drive
Our next step is to attach the NVMe drive to the Pi.
The manufacturer of the M.2 extension kit, Pimoroni, offers clear and easy-to-follow documentation.
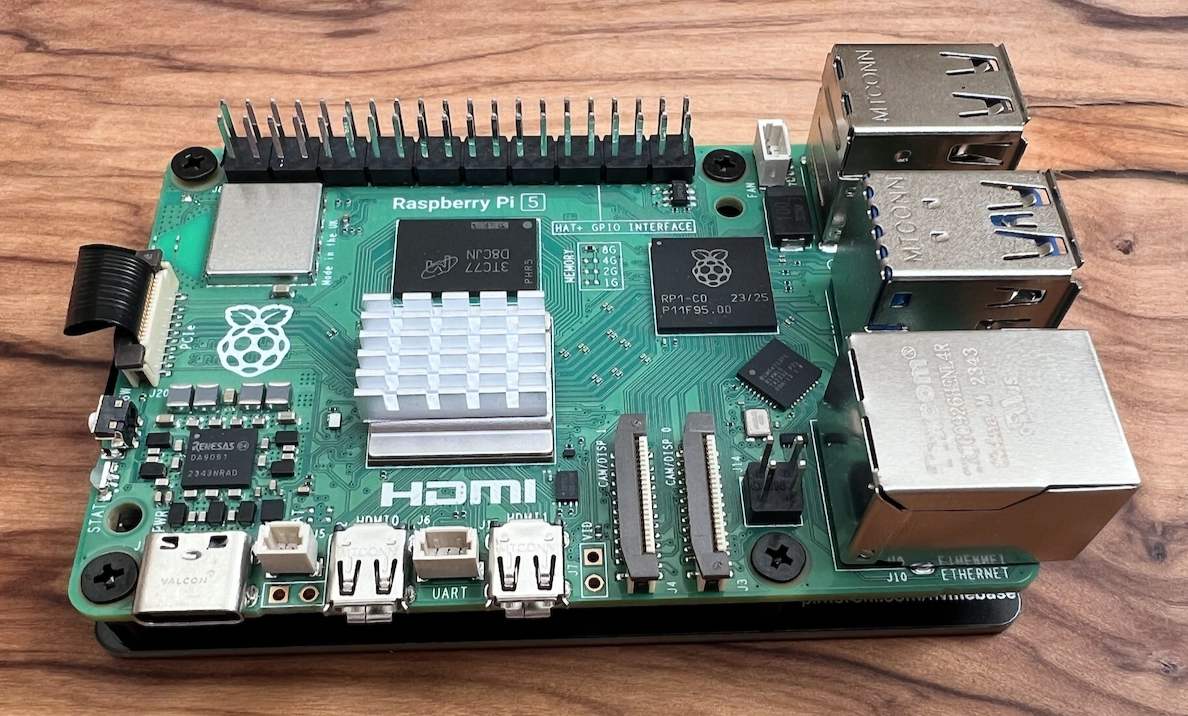
It involves fastening the Pi to the board:

Then assembling it all together, with the delicate-yet-responsible bridge strip cable snapped-in:
After that, we secure it in the case. We recommend using a case with a fan. The extra air movement will ensure your Pi stays cool and comfortable, even during intense benchmarks.
All of the remaining steps occur on the software-side.
Set the Pi to M.2
For this step, we followed a solid guide from Tom's Hardware.
The M.2 is not automatically detected. To enable it, we edit the Raspberry Pi firmware settings. To do so, boot into the Pi and alter a couple configs, then reboot. If setup correctly, the system will reboot into the M.2 drive - which, at the moment, does not have an operating system.
So before we do that, we'll boot into Raspberry Pi OS one last time to pre-load our M.2 with an OS.
Install Ubuntu on the M.2
The Raspberry Pi often comes with an SD card, pre-loaded with Debian-based Raspberry Pi OS. However, to standardize our approach somewhat we’ll use the Raspberry Pi Imager — a fantastic utility — to put Ubuntu Server on our NVMe drive.

It’s helpful to pre-configure users, WiFi (if applicable) and SSH. You don’t have to, but it is time saving. That way, the Pi is setup somewhere comfortable and we can SSH into it from our usual workstation.
We’ll restart into our Ubuntu Server, ready to benchmark.
Benchmark QuestDB on the Pi
Our installation steps will run in a few parts.
To help you run this on your own, they’re written as bash scripts. Copy them, set them to executable, and run them in order. This will get you going. They’re commented so that you’re aware of what they’re doing, as there’s some nifty bits.
In total, we’ll:
- Setup our directory structure
- Download & install Go, the Time Series Benchmarking Suite (TSBS), the latest
cut of QuestDB, fresh from GitHub, and utilities and programs to facilitate
such as
make,mavenand Java - Generate a boat load of sample data
- Throw that data into QuestDB, with great haste
- Query that data out of QuestDB, with similar hastiness
Prepare dependencies
The following sets up the main directories and installs dependencies.
#!/bin/bash# Ensure running as root to avoid permission issues, especially with apt and snapif [ "$(id -u)" -ne 0 ]; thenecho "This script must be run as root" >&2exit 1fi# Create the main data directory if it doesn't existif [ ! -d "/data/tsbs" ]; thenecho "/data/tsbs does not exist, creating..."mkdir -p /data/tsbs/fiecho "Navigating to /data directory..."cd /data# Install Go using snapecho "Installing Go..."snap install go --classic# Clone the TSBS repository if it doesn't existif [ ! -d "tsbs" ]; thenecho "Cloning the TSBS repository..."git clone https://github.com/questdb/tsbs || { echo "Failed to clone TSBS repository"; exit 1; }ficd tsbs# Install make and other potentially missing build essentialsecho "Updating package lists..."apt updateecho "Installing build-essential tools..."apt install -y make build-essential || { echo "Failed to install build-essential tools"; exit 1; }# Install Java, for ARM of courseecho "Installing Java for ARM..."apt install -y openjdk-11-jdk || { echo "Failed to install Java"; exit 1; }export JAVA_HOME="/usr/lib/jvm/java-11-openjdk-arm64"echo "Java home is set to $JAVA_HOME"# Install Mavenecho "Installing Maven..."apt install -y maven || { echo "Failed to install Maven"; exit 1; }# Compile the TSBSecho "Compiling TSBS..."make || { echo "TSBS compilation failed"; exit 1; }# Create data and results directories within the TSBS directorymkdir -p data/quest resultsecho "System & TSBS setup complete. Run questdb.sh!"
With this, we've setup the system and TSBS.
Its directory is where we’ll perform the bulk of our operations.
Set up QuestDB
Note that we’re using the no-jre-bin version of QuestDB. It’s very
lightweight, and requires that we bring-our-own Java. It is less than 10MB!
The script will also initialize, configure, and start QuestDB:
#!/bin/bash# Enter data dircd /data/ || { echo "Failed to change directory to /data/"; exit 1; }# Clone the QuestDB repository if it doesn't existif [ ! -d "questdb" ]; thengit clone https://github.com/questdb/questdb.git || { echo "Failed to clone repository"; exit 1; }ficd questdb || { echo "Failed to change directory to questdb"; exit 1; }# Build QuestDB without running testsmvn clean package -DskipTests -P build-web-console,build-binaries || { echo "Build failed"; exit 1; }# Go back to the parent directorycd .. || { echo "Failed to navigate back to parent directory"; exit 1; }# Copy the QuestDB binary packagecp questdb/core/target/questdb-*-no-jre-bin.tar.gz questdb-no-jre-bin.tar.gz || { echo "Failed to copy QuestDB package"; exit 1; }# Extract the QuestDB packagetar -xvf questdb-no-jre-bin.tar.gz || { echo "Extraction failed"; exit 1; }# Rename the QuestDB directory for easier accessmv questdb*-no-jre-bin questdb || { echo "Rename failed"; exit 1; }# Start, then stop QuestDB to initialize configuration./questdb/questdb.sh start || { echo "QuestDB start failed"; exit 1; }./questdb/questdb.sh stop || { echo "QuestDB stop failed"; exit 1; }# Create a directory for QuestDB root, adjust as necessarymkdir -p /data/tsbs/QDB_ROOT || { echo "Failed to create QDB_ROOT directory"; exit 1; }# Update the server configuration to set the database root directorysed -i 's|#cairo.root=db|cairo.root=/data/tsbs/QDB_ROOT|g' /data/questdb-no-jre-bin/conf/server.conf || { echo "sed operation failed"; exit 1; }# Start QuestDB with the new configuration./questdb/questdb.sh start || { echo "QuestDB start with new config failed"; exit 1; }echo "QuestDB is alive! Setup and initial configuration complete."
QuestDB is alive and well.
You can access it at http://localhost:3000.
The endpoint we'll target is at port 9000.
Time to generate data, then ingest the data.
But that's a story for another article!
Summary
This article guided through the installation and setup of a Raspberry Pi 5 with an M.2 NVMe SSD. We also setup QuestDB. It's ready, waiting. Purring, even!
To continue the story, head to our Raspberry Pi benchmark article.
Want more Pi?
If this sort of thing is up your alley, we've got more fun Pi projects:
- Create an IoT server with QuestDB and a Raspberry Pi
- Build a temperature IoT sensor with Raspberry Pi Pico & QuestDB
- Create an ADS-B flight radar with QuestDB and a Raspberry Pi
- Benchmark QuestDB on a Raspberry Pi 5
We'd also love to see your benchmarks.
Can you replicate this scenario? Improve upon it?
Is there a DB that can do this better, or faster?
Let us know on social media or in our engaging Community Forum or our public Slack.