Launch QuestDB on DigitalOcean
DigitalOcean is a platform with software listings from independent vendors that run on cloud resources. This guide describes how to launch QuestDB via the DigitalOcean marketplace using the official listing. This document also describes usage instructions after you have launched the instance, including hints for authentication, the available interfaces, and tips for accessing the REST API and Web Console.
Prerequisites
The prerequisites for deploying QuestDB on DigitalOcean are as follows:
- A DigitalOcean account (sign up using the QuestDB referral link for 100 USD free credit)
- Basic
shellknowledge for executing commands on the DigitalOcean droplet
Create a QuestDB Droplet
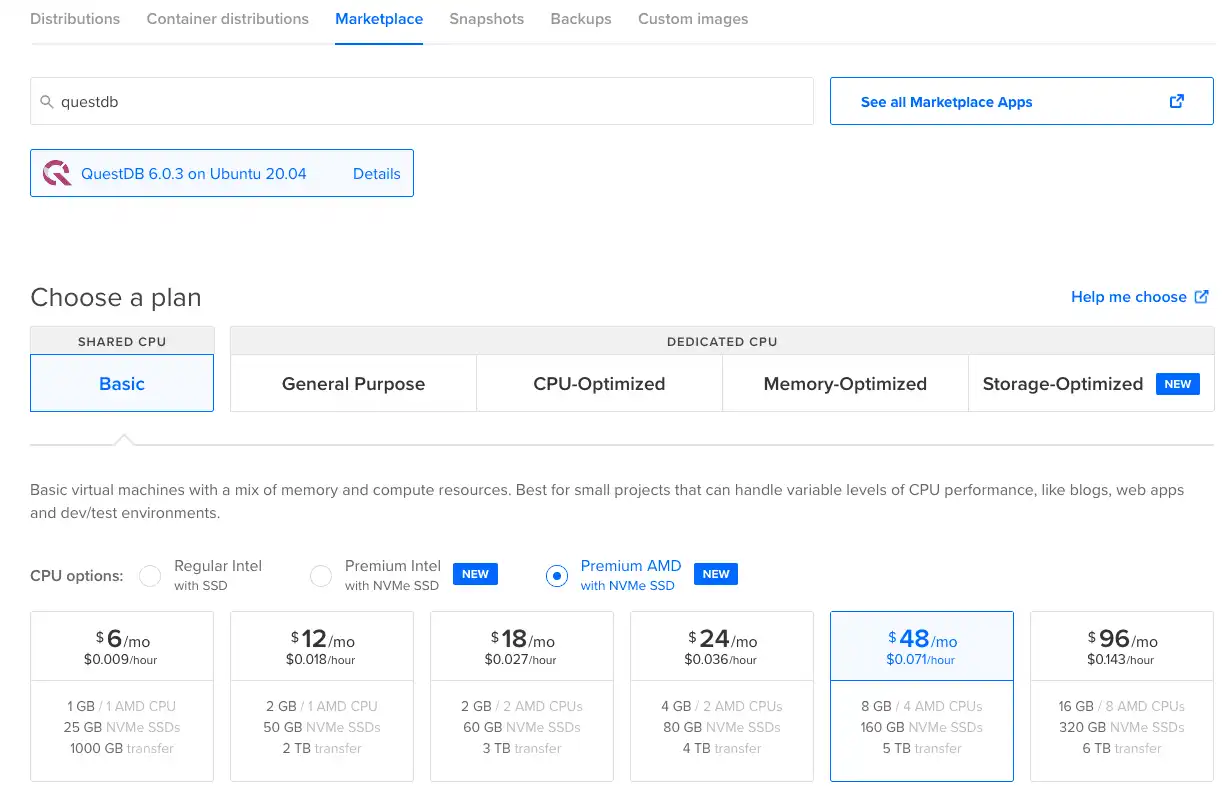
DigitalOcean has a marketplace which offers 1-Click Apps reviewed by their staff. QuestDB is available on the marketplace recently, so setup using this method is preferred:
- Navigate to the QuestDB listing on DigitalOcean
- Click Create QuestDB Droplet
- Select the basic plan for your Droplet (4GB RAM is recommended)
- Choose a region closest to you
- At the Authentication section, enter your SSH public key, or set a password
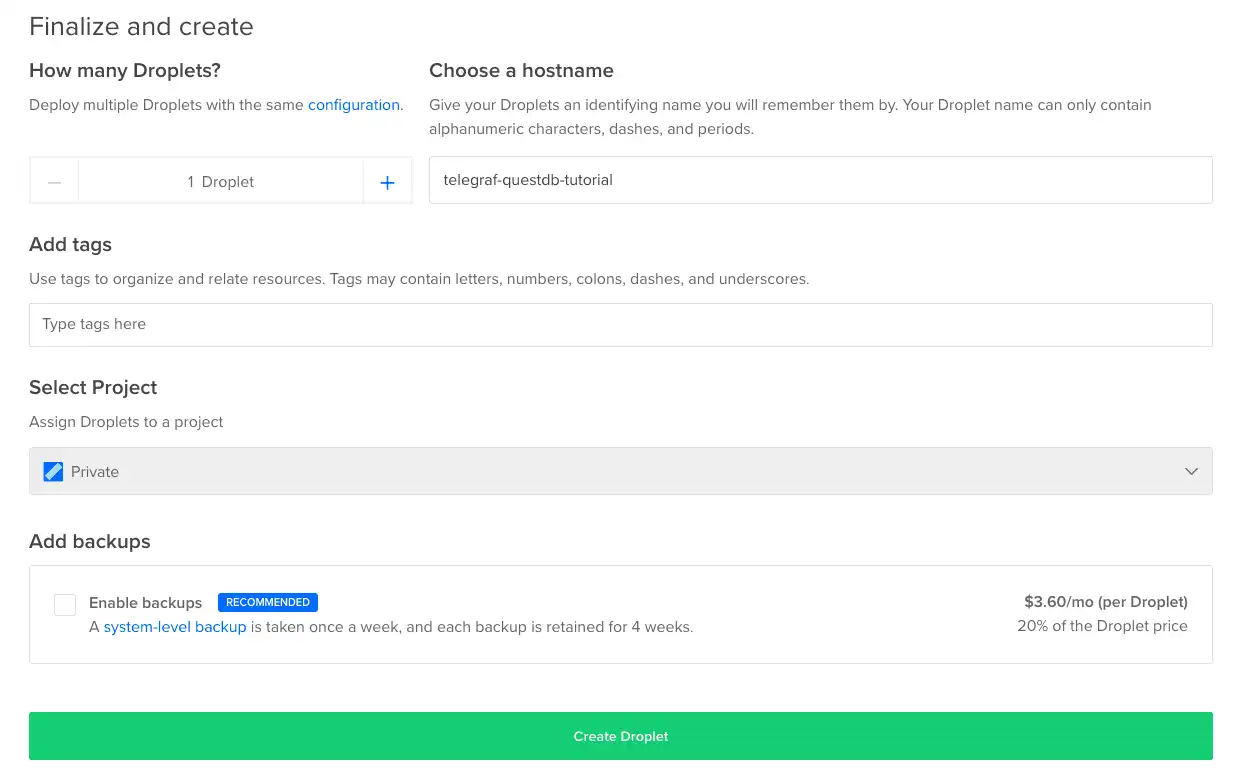
- Set a hostname for the droplet such as
questdb-demo - Leave all other settings with their defaults, and click Create Droplet at the bottom of the page
After 30 seconds, QuestDB should be ready to use. To validate that we set
everything up successfully, copy the Droplet's IP address by clicking on it and
navigate to http://<IP ADDRESS>:9000/ where <IP ADDRESS> is the IP address
you just copied. The interactive console should load and we can start querying
the database and inserting data.
QuestDB droplet configuration
The server configuration file is at the following location on the droplet:
/home/questdb/server.conf
For details on the server properties and using this file, see the server configuration documentation.
The default ports used by QuestDB interfaces are as follows:
- Web Console & REST API is available on port
9000 - PostgreSQL wire protocol available on
8812 - InfluxDB line protocol
9009(TCP and UDP) - Health monitoring & Prometheus
/metrics9003
QuestDB Credentials
Credentials may be configured in the server configuration file:
/home/questdb/server.conf
The default Postgres credentials should be changed:
pg.user=...
pg.password=...
For details on authentication using InfluxDB line protocol, see the InfluxDB line protocol authentication guide.
Disabling authentication
If you would like to disable authentication for Postgres wire protocol or InfluxDB line protocol, comment out the following lines in the server configuration file:
# pg.password=...

# line.tcp.auth.db.path=conf/auth.txt
Disabling interfaces
Interfaces may be disabled completely with the following configuration:
# disable postgres
pg.enabled=false

# disable InfluxDB line protocol over TCP and UDP
line.tcp.enabled=false
line.udp.enabled=false

# disable HTTP (web console and REST API)
http.enabled=false
The HTTP interface may alternatively be set to readonly:
# set HTTP interface to readonly
http.security.readonly=true
API creation
In addition to creating a Droplet from the QuestDB 1-Click App via the control panel, you can also use the DigitalOcean API.
As an example, to create a 4GB QuestDB Droplet in the SFO2 region, you can use the following curl command. You’ll need to either save your API access token to an environment variable or substitute it into the command below.
curl -X POST -H 'Content-Type: application/json' \
     -H 'Authorization: Bearer '$TOKEN'' -d \
    '{"name":"choose_a_name","region":"sfo2","size":"s-2vcpu-4gb","image":"questdb-20-04"}' \
    "https://api.digitalocean.com/v2/droplets"